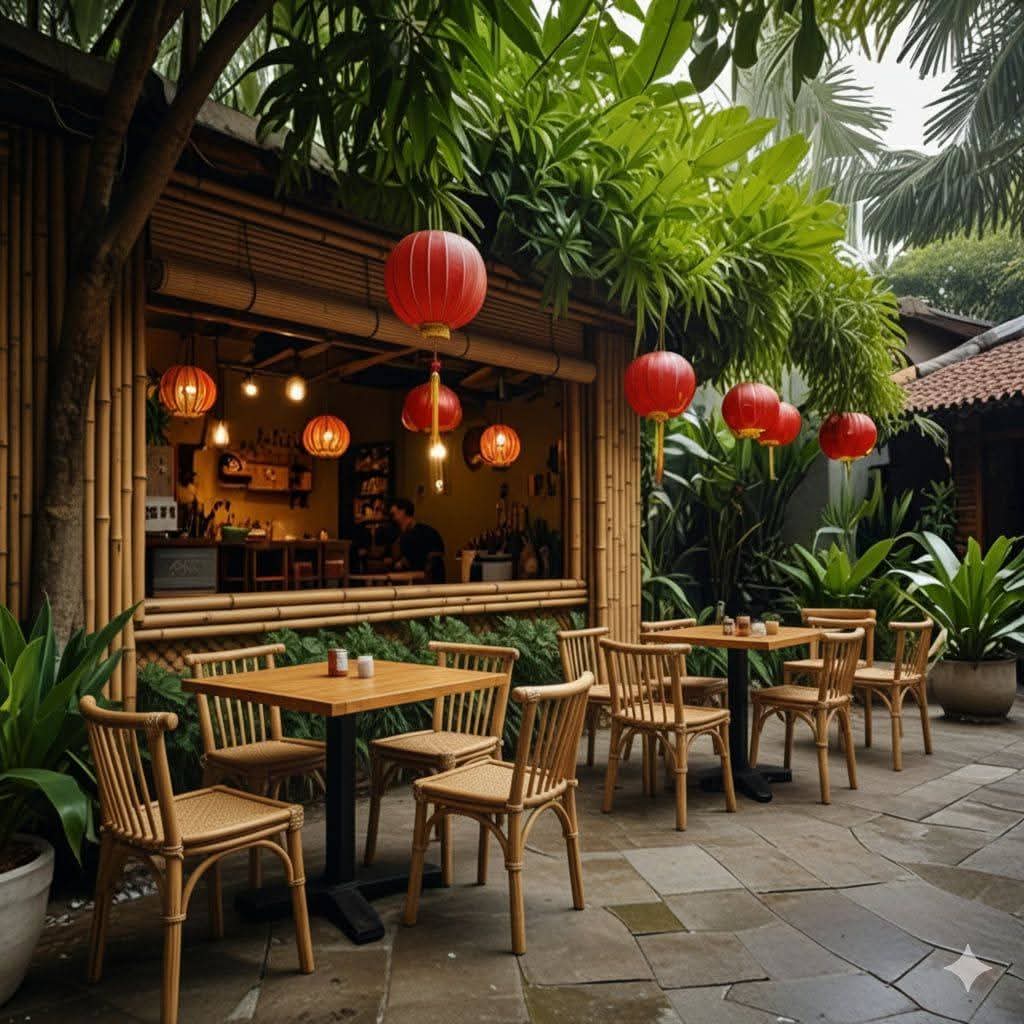
Reserve Your Table in 60 Seconds
Good food, warm ambiance, and service that feels like home — the kind that never goes out of style.
Experience dining the way it should be — simple, cozy, unforgettable.
Highlights:
Fresh dishes cooked daily
Fast & easy booking
Perfect for families, dates & celebrations
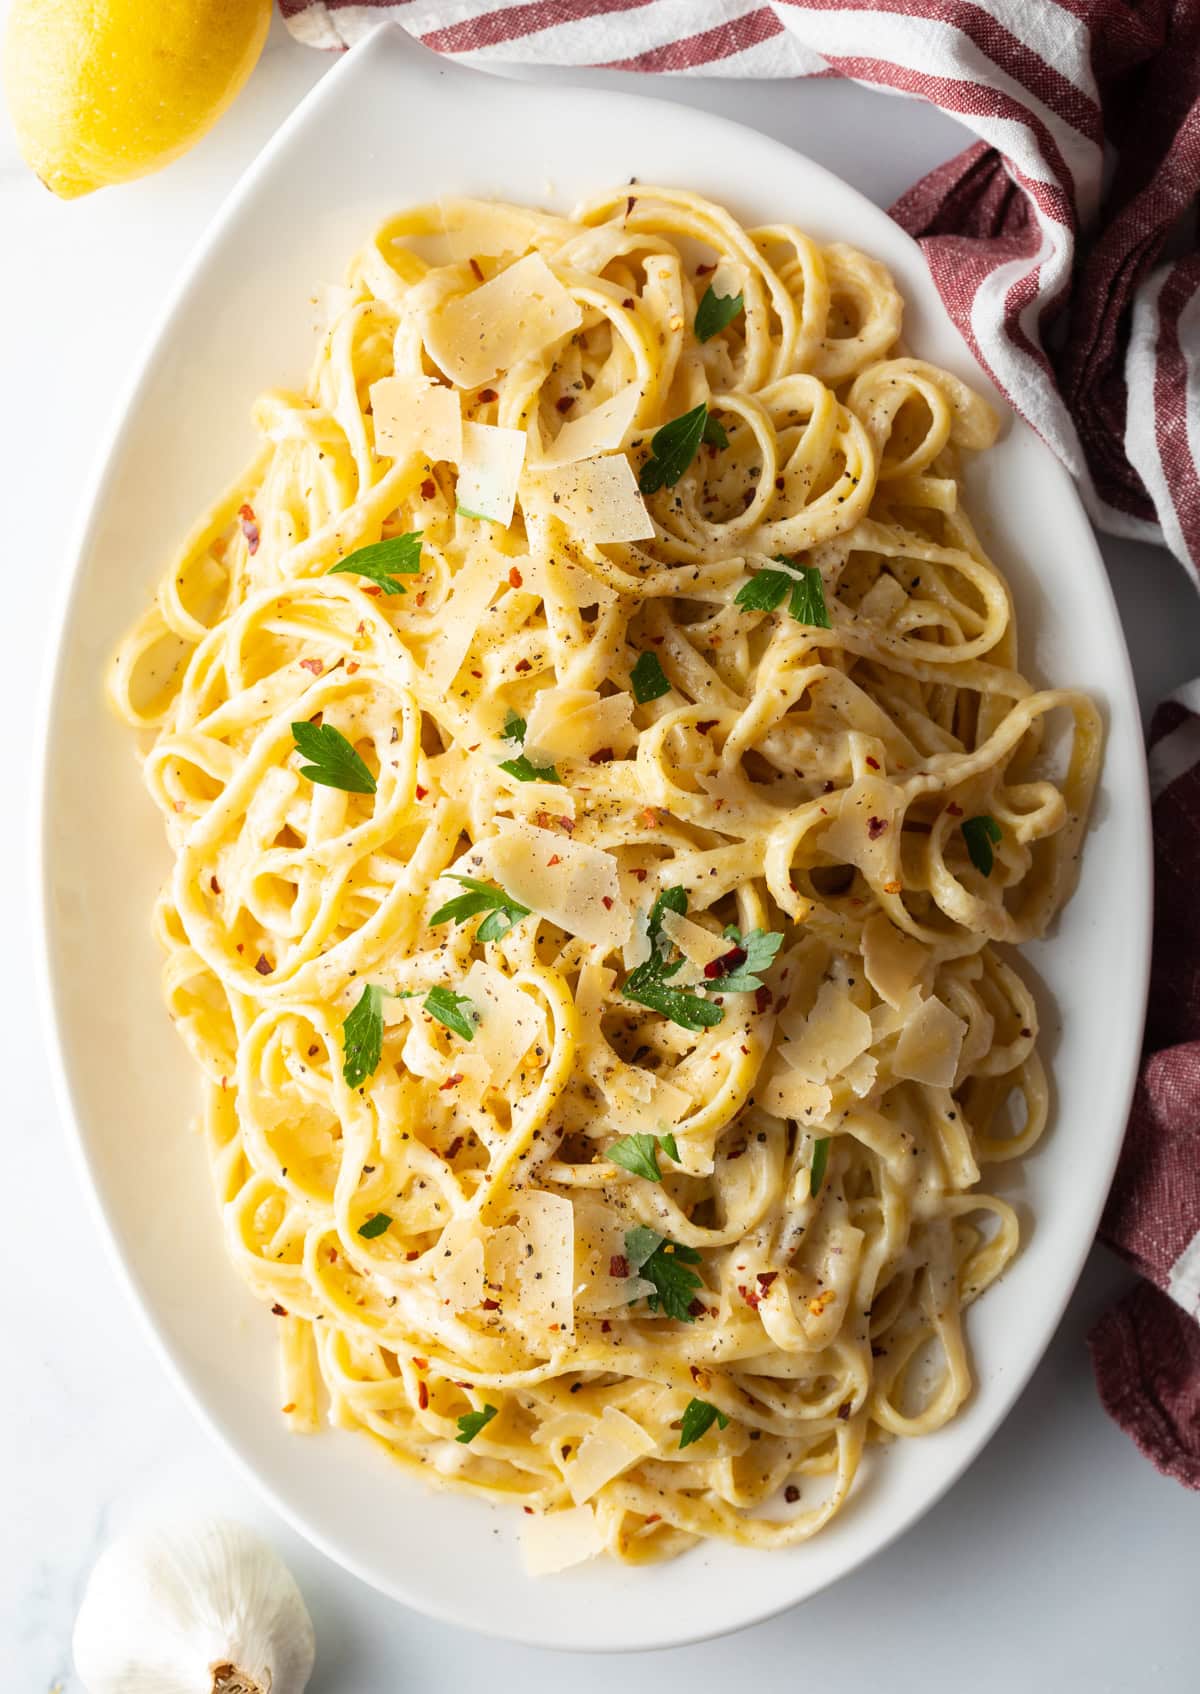
🍛FEATURED DISHES
A Taste You’ll Keep Coming Back To
House Special Kare-Kare
Creamy, rich, and unforgettable

Classic Chicken BBQ
Tender, smoky, and perfectly grilled

Signature Alfredo Pasta
Comfort in every bite
WHY CHOOSE US?
Classic Service Done Right
Experience dining that feels homey, traditional, and heartfelt.
✔️ Fast Reservations
✔️ Homestyle Cooking
✔️ Cozy Ambiance
✔️ Friendly Staff
WEEKLY PROMO
✨ Special Offer This Week ✨
Reserve today and enjoy 10% OFF on your total bill.
Limited slots. First come, first served, buddy!
What Diners Are Saying
This platform has completely transformed how we manage our marketing campaigns. The ease of use and powerful features have made a significant impact on our ROI.

The automation capabilities are incredible. We've saved countless hours and improved our customer engagement significantly.

The analytics and reporting features give us insights we never had before. Our conversion rates have improved by 40%.


ABOUT US
Golden Spoon Bistro brings back the magic of traditional home-style cooking — passed down through generations — served with a modern, comfortable dining experience.
A place where every meal feels like home.
Title or Question
Describe the item or answer the question so that site visitors who are interested get more information. You can emphasize this text with bullets, italics or bold, and add links.
Title or Question
Describe the item or answer the question so that site visitors who are interested get more information. You can emphasize this text with bullets, italics or bold, and add links.
Subscribe to our Mailing List
And that's just a peek at what we offer. Get more marketing tips straight to your inbox.